From the SP-1200 to the S2400: A Legacy of Sound
The E-mu SP-1200 and its predecessor the SP-12 didn’t just help create great tracks — they defined entire genres. The SP-1200’s 12-bit sampling and unmistakable lo-fi warmth became foundational to hip hop in the late 1980s, with producers like Pete Rock, Large Professor, and DJ Premier using it as their primary drum machine and sampler. At the same time, Chicago and New York house music producers were running the same hardware to build the gritty, textured rhythms that drove early house tracks. The SP-12/SP-1200 workflow — chop, pitch, layer — became the DNA of drum-based electronic music production.
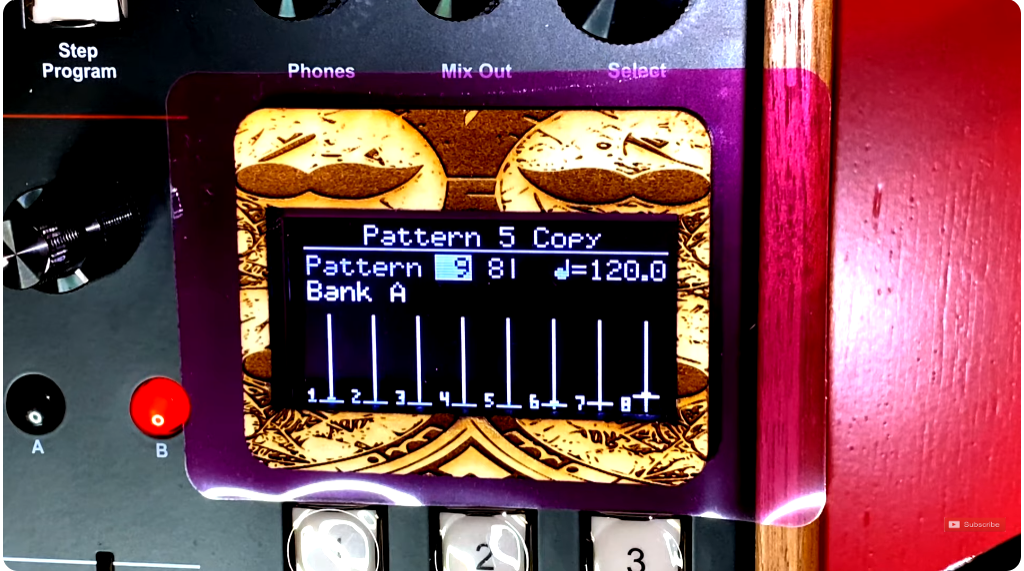
Fast forward to 2022 and Isla Instruments released the S2400, a machine built explicitly as a spiritual successor to that legacy. The S2400 brings 12-bit sampling back with full modern connectivity, and it has rapidly developed a serious cult following among producers who want that era’s character without hunting for a fragile 35-year-old unit on eBay. The machine sounds right. But its stock display? That’s a different story.
The stock OLED on the S2400 does its job, but it’s utilitarian. If you’ve dropped serious money on a piece of gear that pays homage to production history, there’s something satisfying about making it look the part too. That’s why this S2400 screen mod is worth a small amount of your time. Here’s how to do it cheaply, reversibly, and without touching a single screw or wire inside the unit.
What this mod actually is
This is a non-destructive screen color overlay using camera lighting filters — the kind photographers use to adjust color temperature and mood — combined with a custom laser-cut wood frame. No electronics, no disassembly, no voiding of warranties. Total cost is around $20.
You can change your mind anytime. The filter simply sits in front of the screen held by double-sided tape. If you decide you hate orange next month, swap it out in five minutes.
Your three options for getting a filter
Before buying anything, know your sourcing options:
- Direct from a supplier like CrystalFonts — you get exactly the color you want, but you’re committing upfront
- eBay resellers — the selection is wider but you pay the reseller and eBay markup
- Camera filter packs on Amazon (the Selens pack is the one used in this video) — you get a wide variety to test in person before committing, which is the move I’d recommend
Color options: what actually looks good
Running through the Selens pack in person reveals some clear winners and a few that look better on camera than in reality. Here’s a realistic breakdown:
The strong choices
- Dark green — gives that Kraftwerk-era terminal feel, vintage and readable
- Pink — looks less aggressively pink in real life, genuinely distinctive on stage or in a studio photo
- Dark orange — cuts the blue OLED bleed well, warm and readable; go for the darker of the two orange options in the pack
- Dark purple — dramatic in person, would be a strong second choice if you want something theatrical
The passes
- Plain blue — doesn’t read differently enough from the stock OLED color to be worth it
- Black — unless you genuinely have light sensitivity issues, this one kills readability
- Frosted — novel but ultimately impractical; pass
- Pale yellow — washed out; go for a saturated yellow if you want that look
One useful note: the blue bleed from the underlying OLED comes through lighter filters more than darker ones. Orange and green do the best job of neutralizing it.
The wood overlay
The filter alone looks clean, but the wood border is what elevates this from a mod to a statement. The screen dimensions are 30mm × 60mm, so you’re trimming the filter slightly larger than that, then having a matching frame laser-cut.
If you’re in any city of reasonable size, a local maker space or laser cutting service will handle this without issue. You can go basic — just a rectangular border — or get into more elaborate designs. Wood options that work well:
- Maple — light, clean, modern
- Cherry — warmer tone, suits the vintage aesthetic of the S2400
- Custom engraving — if you want to go further, the same laser cutter can add detail to the frame
Laser cutter files are linked in the video description and also available for free on this site (https://www.musicbycatabolic.com/s2400-display-screen-upgrade-free-resource/).
Putting it together
Trim your filter to slightly larger than 30mm × 60mm. Attach it to the back of the wood frame. Then attach the combined piece to the display. For adhesion you have three options depending on how committed you are:
- Double-sided tape — reversible, easy, the default choice
- School glue — semi-permanent, removable with effort
- Epoxy (e.g. JB Weld) — permanent, only if you are absolutely certain about your color choice
That’s it. The full video walkthrough is below. If you end up doing this mod — especially if you go with pink — send a photo. I’d love to see it.
The demand for the SP sound is so enduring that Dave Rossum, the original SP-1200 designer, launched an authentic reissue through Rossum Electro-Music. I find the S2400 essentially gets you there while giving you a more modern workflow.
Selens filter pack available at https://a.co/d/aoyAKmX